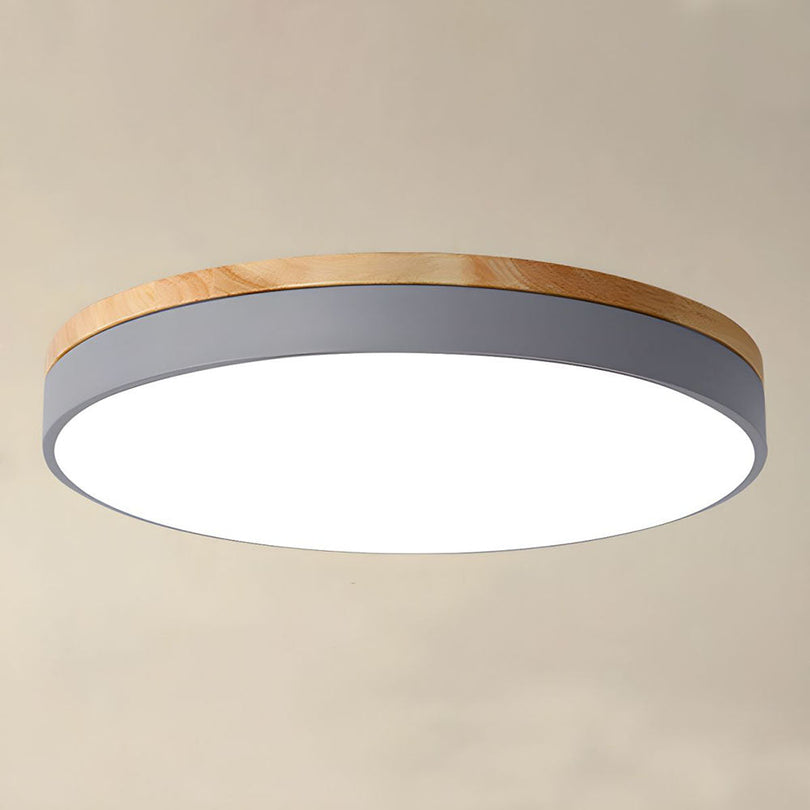
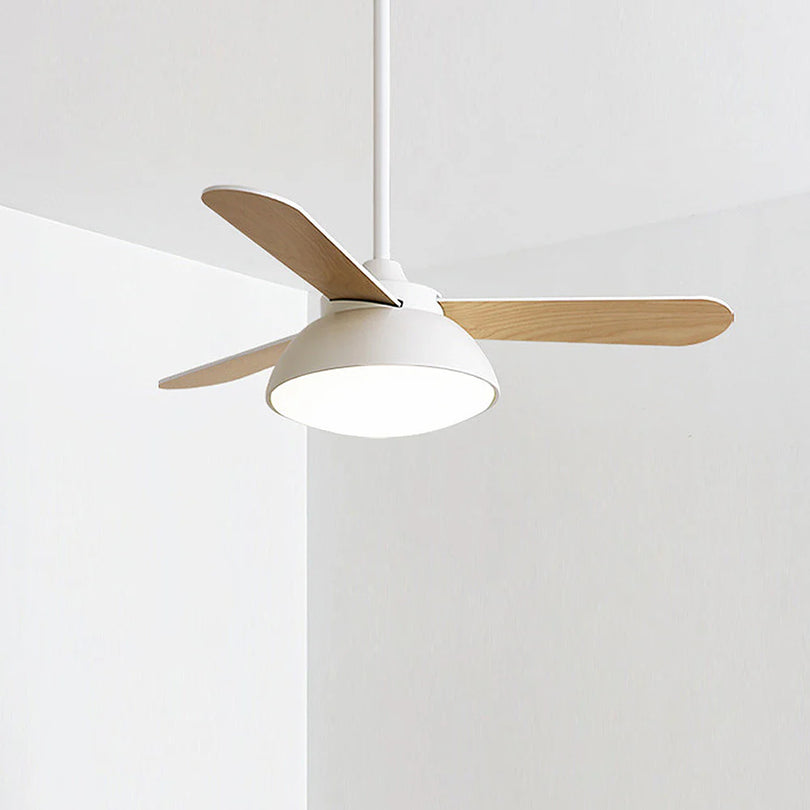
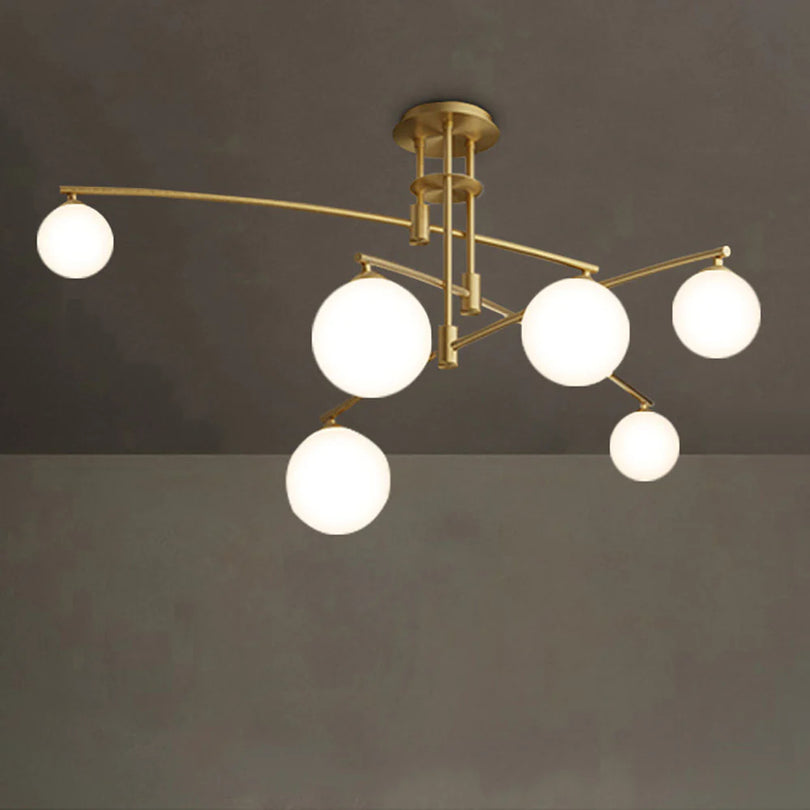
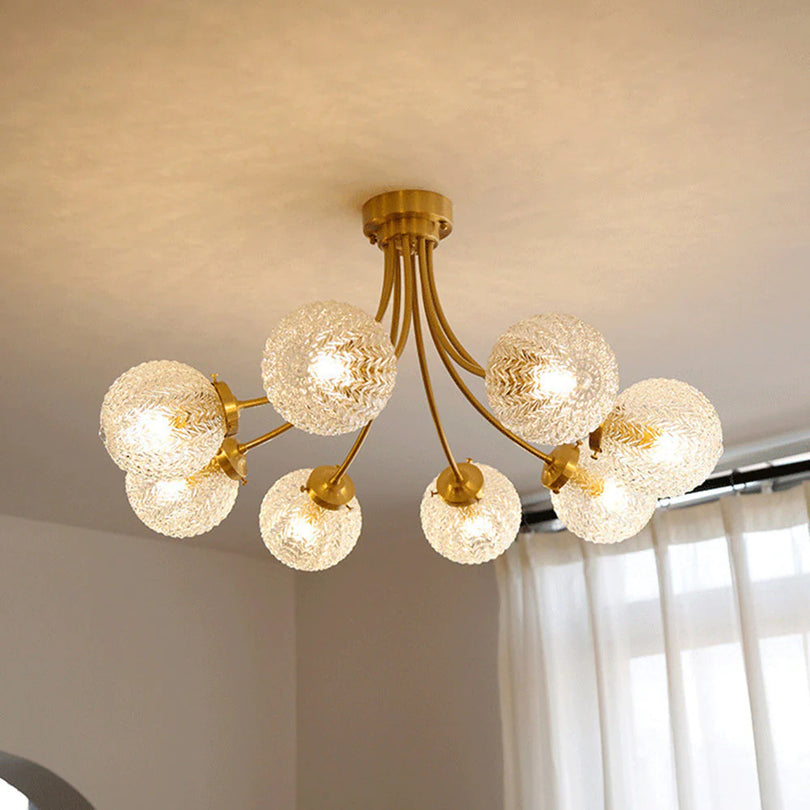
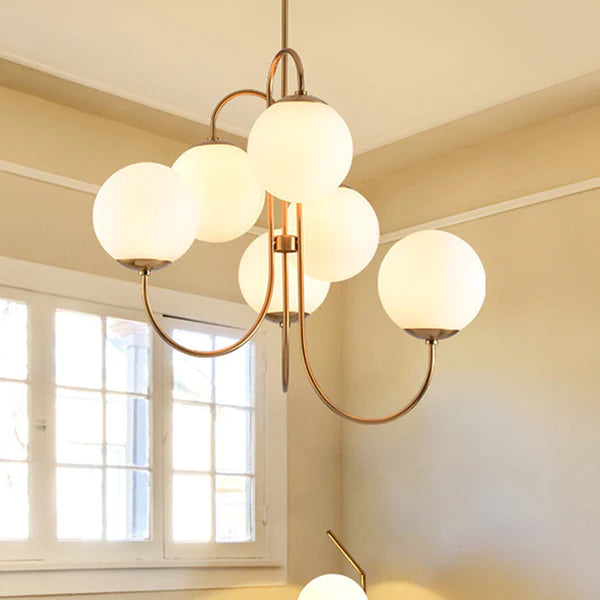
Installing LED ceiling lights can seem challenging, but with the right approach, it's manageable. Here's a simplified guide to help you through the process:
1. Preparation
Turn Off Power: Locate the circuit breaker and switch off the power to the area where you’ll be working.
Gather Tools: You’ll need a screwdriver, wire nuts, electrical tape, a ladder, and potentially a voltage tester.
2. Remove the Old Fixture
Take Down Old Light: Remove any existing light fixture by unscrewing it from the ceiling. Carefully lower it and disconnect the wires by untwisting the wire nuts.
Check the Junction Box: Ensure the junction box is secure and can support the new fixture.
3. Install the Mounting Bracket
Attach Bracket: If your new light fixture comes with a mounting bracket, attach it to the junction box with screws. Make sure it's aligned and securely fastened.
4. Connect the Wires
Match Wires: Connect the wires from the ceiling to those of the new light fixture. Typically, black (or red) wires connect to black, white to white, and green (or bare) to the grounding screw.
Secure Connections: Use wire nuts to twist the wires together securely. Wrap the connections with electrical tape for added safety.
💡💡💡Here's a example for LED ceiling lights connecting:
5. Mount the New Fixture
Attach Fixture: Align the light fixture with the mounting bracket and secure it with screws or the included hardware. Follow the manufacturer's instructions for specific mounting details.
Adjust Position: Ensure the fixture is level and properly positioned before tightening all screws.
6. Install Bulbs and Covers
Insert Bulbs: Install the appropriate light bulbs as per the fixture's specifications.
Attach Covers: If your fixture has a cover or shade, attach it according to the manufacturer's instructions.
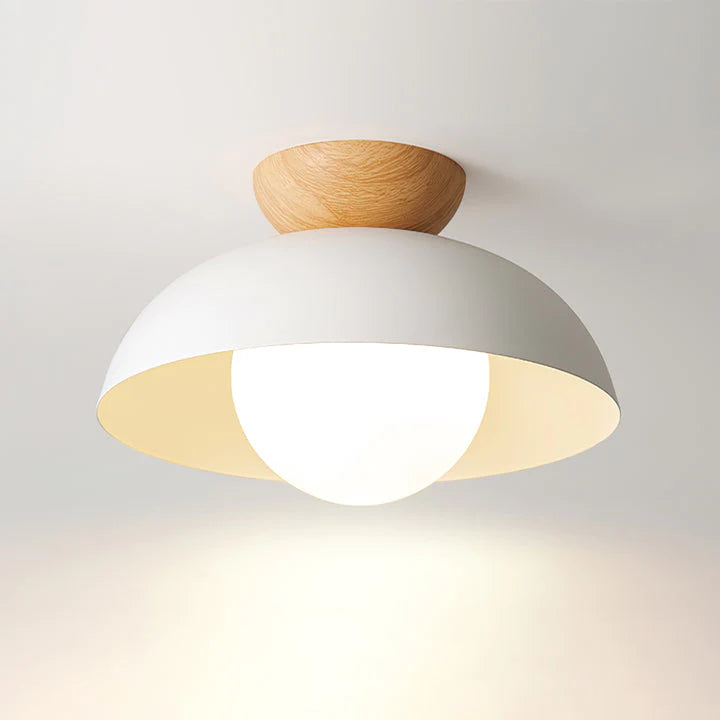
✨Most LED ceiling lights have bulbs included in, so you don't need to buy bulbs extra. Specific information can be seen on product page.
7. Test the Light
Turn On Power: Restore power at the circuit breaker and test the new light by flipping the switch.
Check Functionality: Ensure the light operates correctly and there are no issues with wiring or installation.
8. Final Touches
Clean Up: Dispose of any old fixtures or packaging properly. Clean the new fixture and surrounding area if needed.
Inspect: Double-check all connections and ensure everything is securely installed.
Safety Tips
Use a Voltage Tester: Confirm that power is off before starting any electrical work.
Follow Manufacturer Instructions: Always refer to the installation manual provided with your fixture.
Seek Professional Help: If you’re unsure about any part of the installation process, consult a licensed electrician.
Installing ceiling lights can significantly enhance the ambiance and functionality of your space. By following the steps carefully—turning off power, removing old fixtures, connecting wires properly, and securing the new light—you can achieve a successful installation. Always prioritize safety and, if in doubt, consult a professional. Enjoy your newly illuminated room and the updated look it brings to your home!

